I have continued to do my best to install the Painless (they should change the name to nearly, or almost Painless) wiring kit. I have run into a few snags here and there, mainly stemming from the fact that the harness was not specifically made for the vehicle and did not come ready with a few wires that were needed. I have made some adaptations of the harness on the fly, just hoping that they work.
Here are a few shots of whats been going on...
We start with the large mess of wire that would be running into the engine bay, the forward lighting, ignition, alternator, choke and horn wires mainly. I sectioned them off and tied some of them together to clean up the appearance a bit.

This is the distribution block for the main power to the starter, fuse block and the return wire from the alternator. There will be a 4 ga wire coming in from the trunk and it will be split into separate wiring (8 ga for the stater and 12 ga for the others).

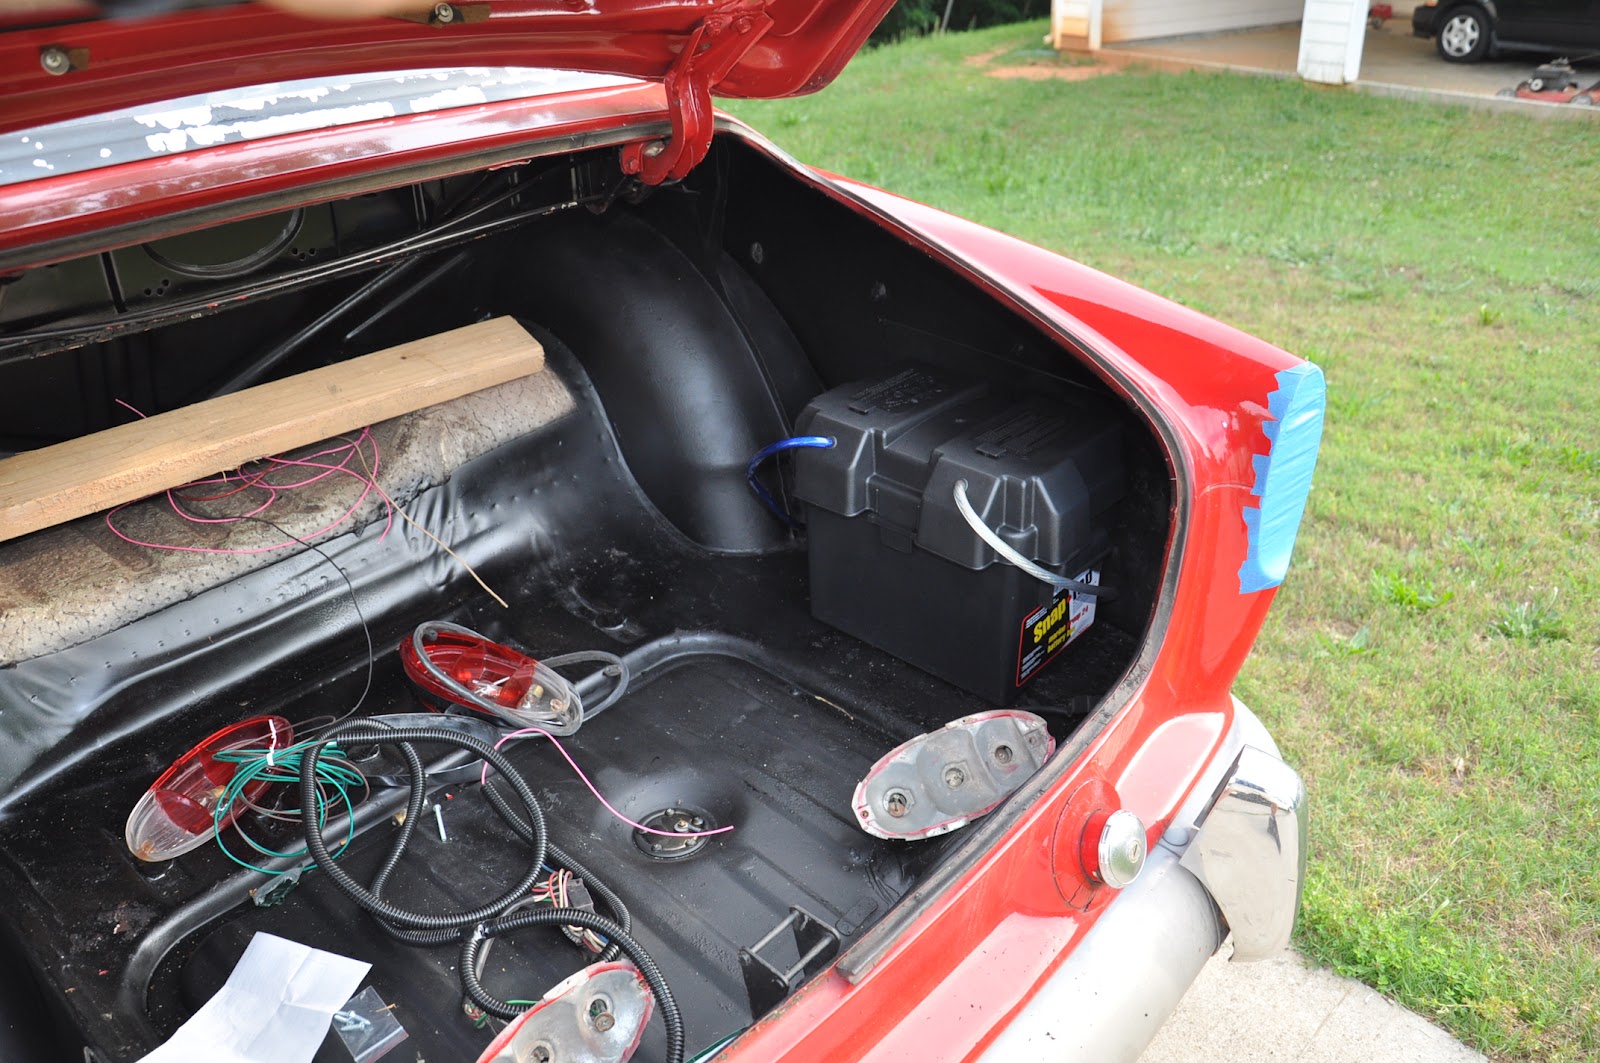
The battery box installed in the trunk, mocked up with some scrap wire just to show what the final product will look like, well minus the goofy label on the front of the box.

Some of the wiring getting loomed up, you can see the headlight and horn cluster to the right, with the offshoot for the ignition coil. I am still trying to figure a good, economical and aesthetically pleasing way of the securing the loom on the fender. Any ideas would be appreciated!

Again, the looming. This is the left side containing the other lighting wires, and the offshoot for the choke wire.

A shot of the final install of the ignition coil, which will ultimately need to be replaced due to the negative post. I was tightening the nut, and trying to be as careful as I could, when the black plastic housing portion cracked around the negative post.

Another shot of the distribution block mounted on the inside bottom of the battery box.

The wired and taped lighting switch. Several additions need to be made to the wiring, accounting for instrument panel lighting.


I went ahead and wired the headlight relays. Two SPST relays, one for the low beam and one for the high beam. the final taping and mounting will be updated in my next post, when I will be cleaning up all the under dash wiring.


And finally the wired and taped up Fan and Wiper switches. The wiper switch went pretty close to plan, except for the fact that I have no washer fluid pump in the vehicle. If I choose to add one later, I shouldn't have any problem at all wiring it in.


Finally had a chance to remove all the old purple tint. Looks a lot nicer, even with all the adhesive that left behind. I will be investing some time with a large can of acetone and a few rags on this one.

Check back soon, as the wiring continues. The lighting section is next on the list. That will include wiring the reverse lights (which are not accounted for the in the wiring harness).
Thanks for taking look!
Brad